From Citavi to Stud.IP
Convert list of references from Citavi to Stud.IP
Steps within Citavi ...
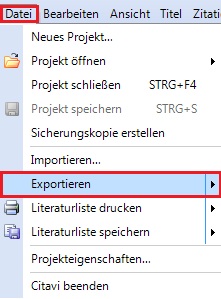
1. Choose the desired titel within Citavi and choose from the menu data the command export.
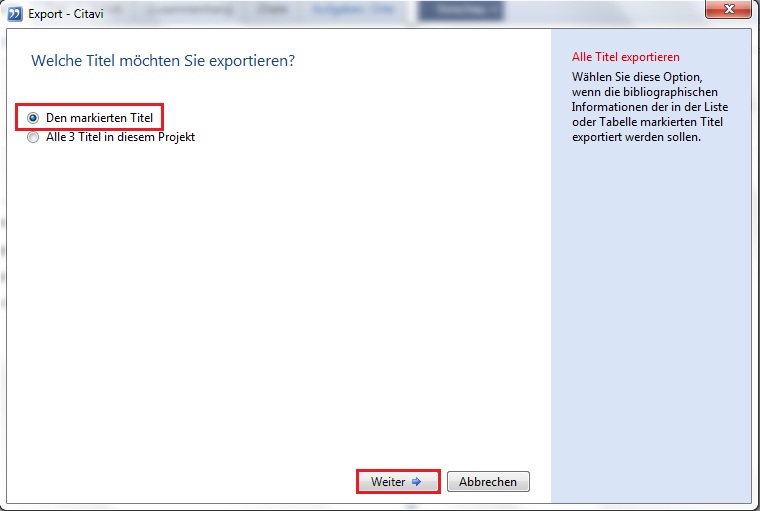
Confirm within the newly opend window the title an click on "next".
2. Choose Stud.IP (the filter is available when you choosed it before for your import).
Click on next.
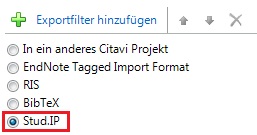
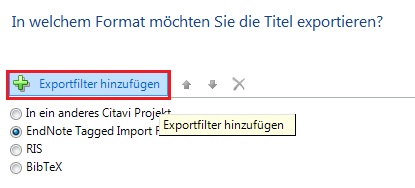
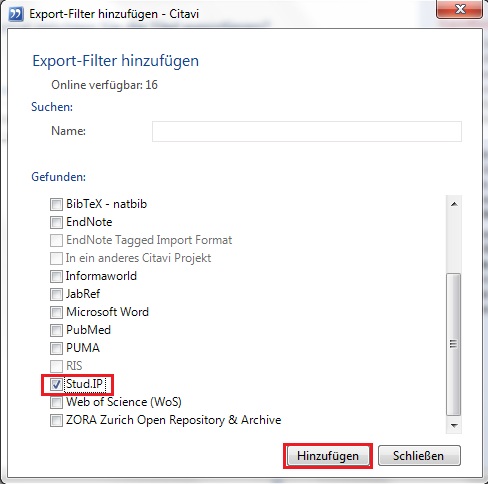
 If the filter is not yet available klick on "add export filter", choose "Stud.IP" from the list an confirm it with a click on "add."
3. Click on "search", to set the memory location an the name of your export data.
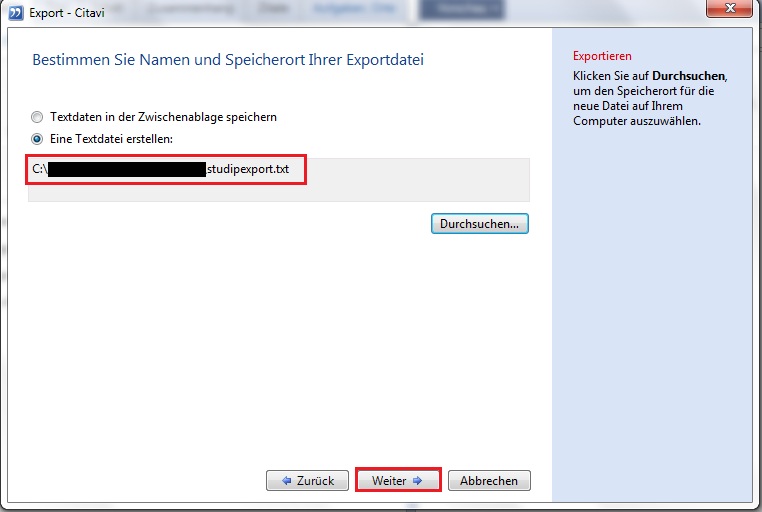
Click on "next".
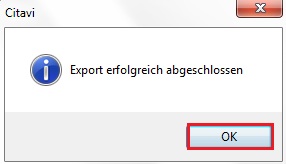
4. You will receive a message that the export was successfull. Close the window by clicking on "OK".
Steps within Stud.IP...
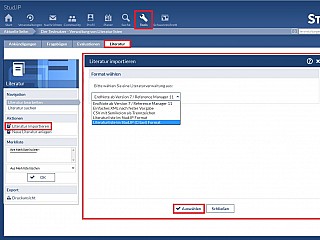
Click on "Tools" within the head line an choose the tab "references ". On the left from the sidebar you need to choose "import references". From the drop-down-menu you need to choose the corresponding format (list of references within Stud.IP (Citavi) format". Click on search to choose the data you want to create from Citavi. With one last click on "import" you finish the settings.
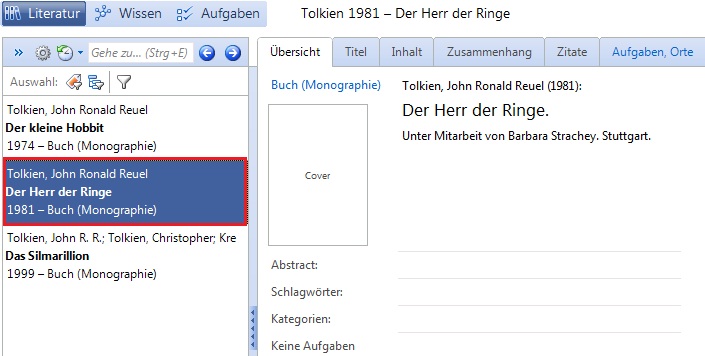
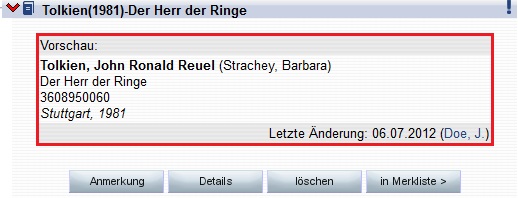
Abschließend sehen Sie noch einmal den Beispieltitel aus Citavi, der exportiert wurde und die Ansicht des Imports in Stud.IP.
Export (Citavi-view):
Import (Stud.IP lecturers view):
< Citavi | Overview | From Stud.IP to Citavi >
