Creating study groups
There are two ways to create a study group:
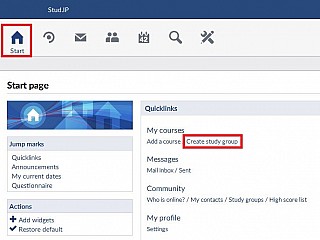
1. On the start page there is the link "Create study group". This leads directly to the setup assistant.
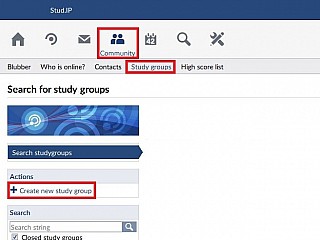
2. Choose the "Community" header, then choose "Study groups" and you will find "Create new study group" at the left sidebar.
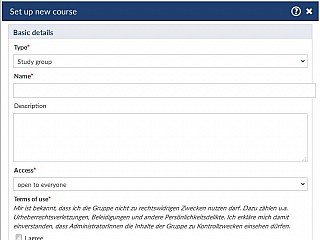
During the set-up you can define the properties of your new study group. In addition to the name and (optional) description of the study group, you can specify whether all participants are allowed to register directly ("Open to everyone") or whether you want to confirm each admission request individually ("Upon request"). To create a study group, you must confirm that you may not use it for unlawful purposes and that you allow system administrators to view the contents of your study group for control purposes. Once you have made all the settings, confirm them with the "Continue" button.
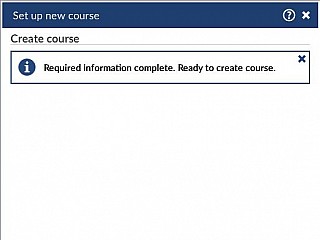
In the last step you will be shown if all necessary information have been entered. If this is the case, the study group can be created with the button "Create course".
< Study groups | Overview | Editing study groups >


